

SCIM provisioning is available on enterprise workspaces only.
- Okta, set up in the dedicated Okta SCIM guide
- Microsoft Entra ID (formerly Azure AD), set up in the dedicated Microsoft Entra ID SCIM guide
- Custom IdP, any SCIM 2.0-compatible identity provider
Before you begin
Before setting up SCIM, make sure you have:- Owner or admin access to your Base44 workspace
- A Workspace API key (found in Settings → Secrets)
- Your SCIM Base URL (found in Settings → Authentication)
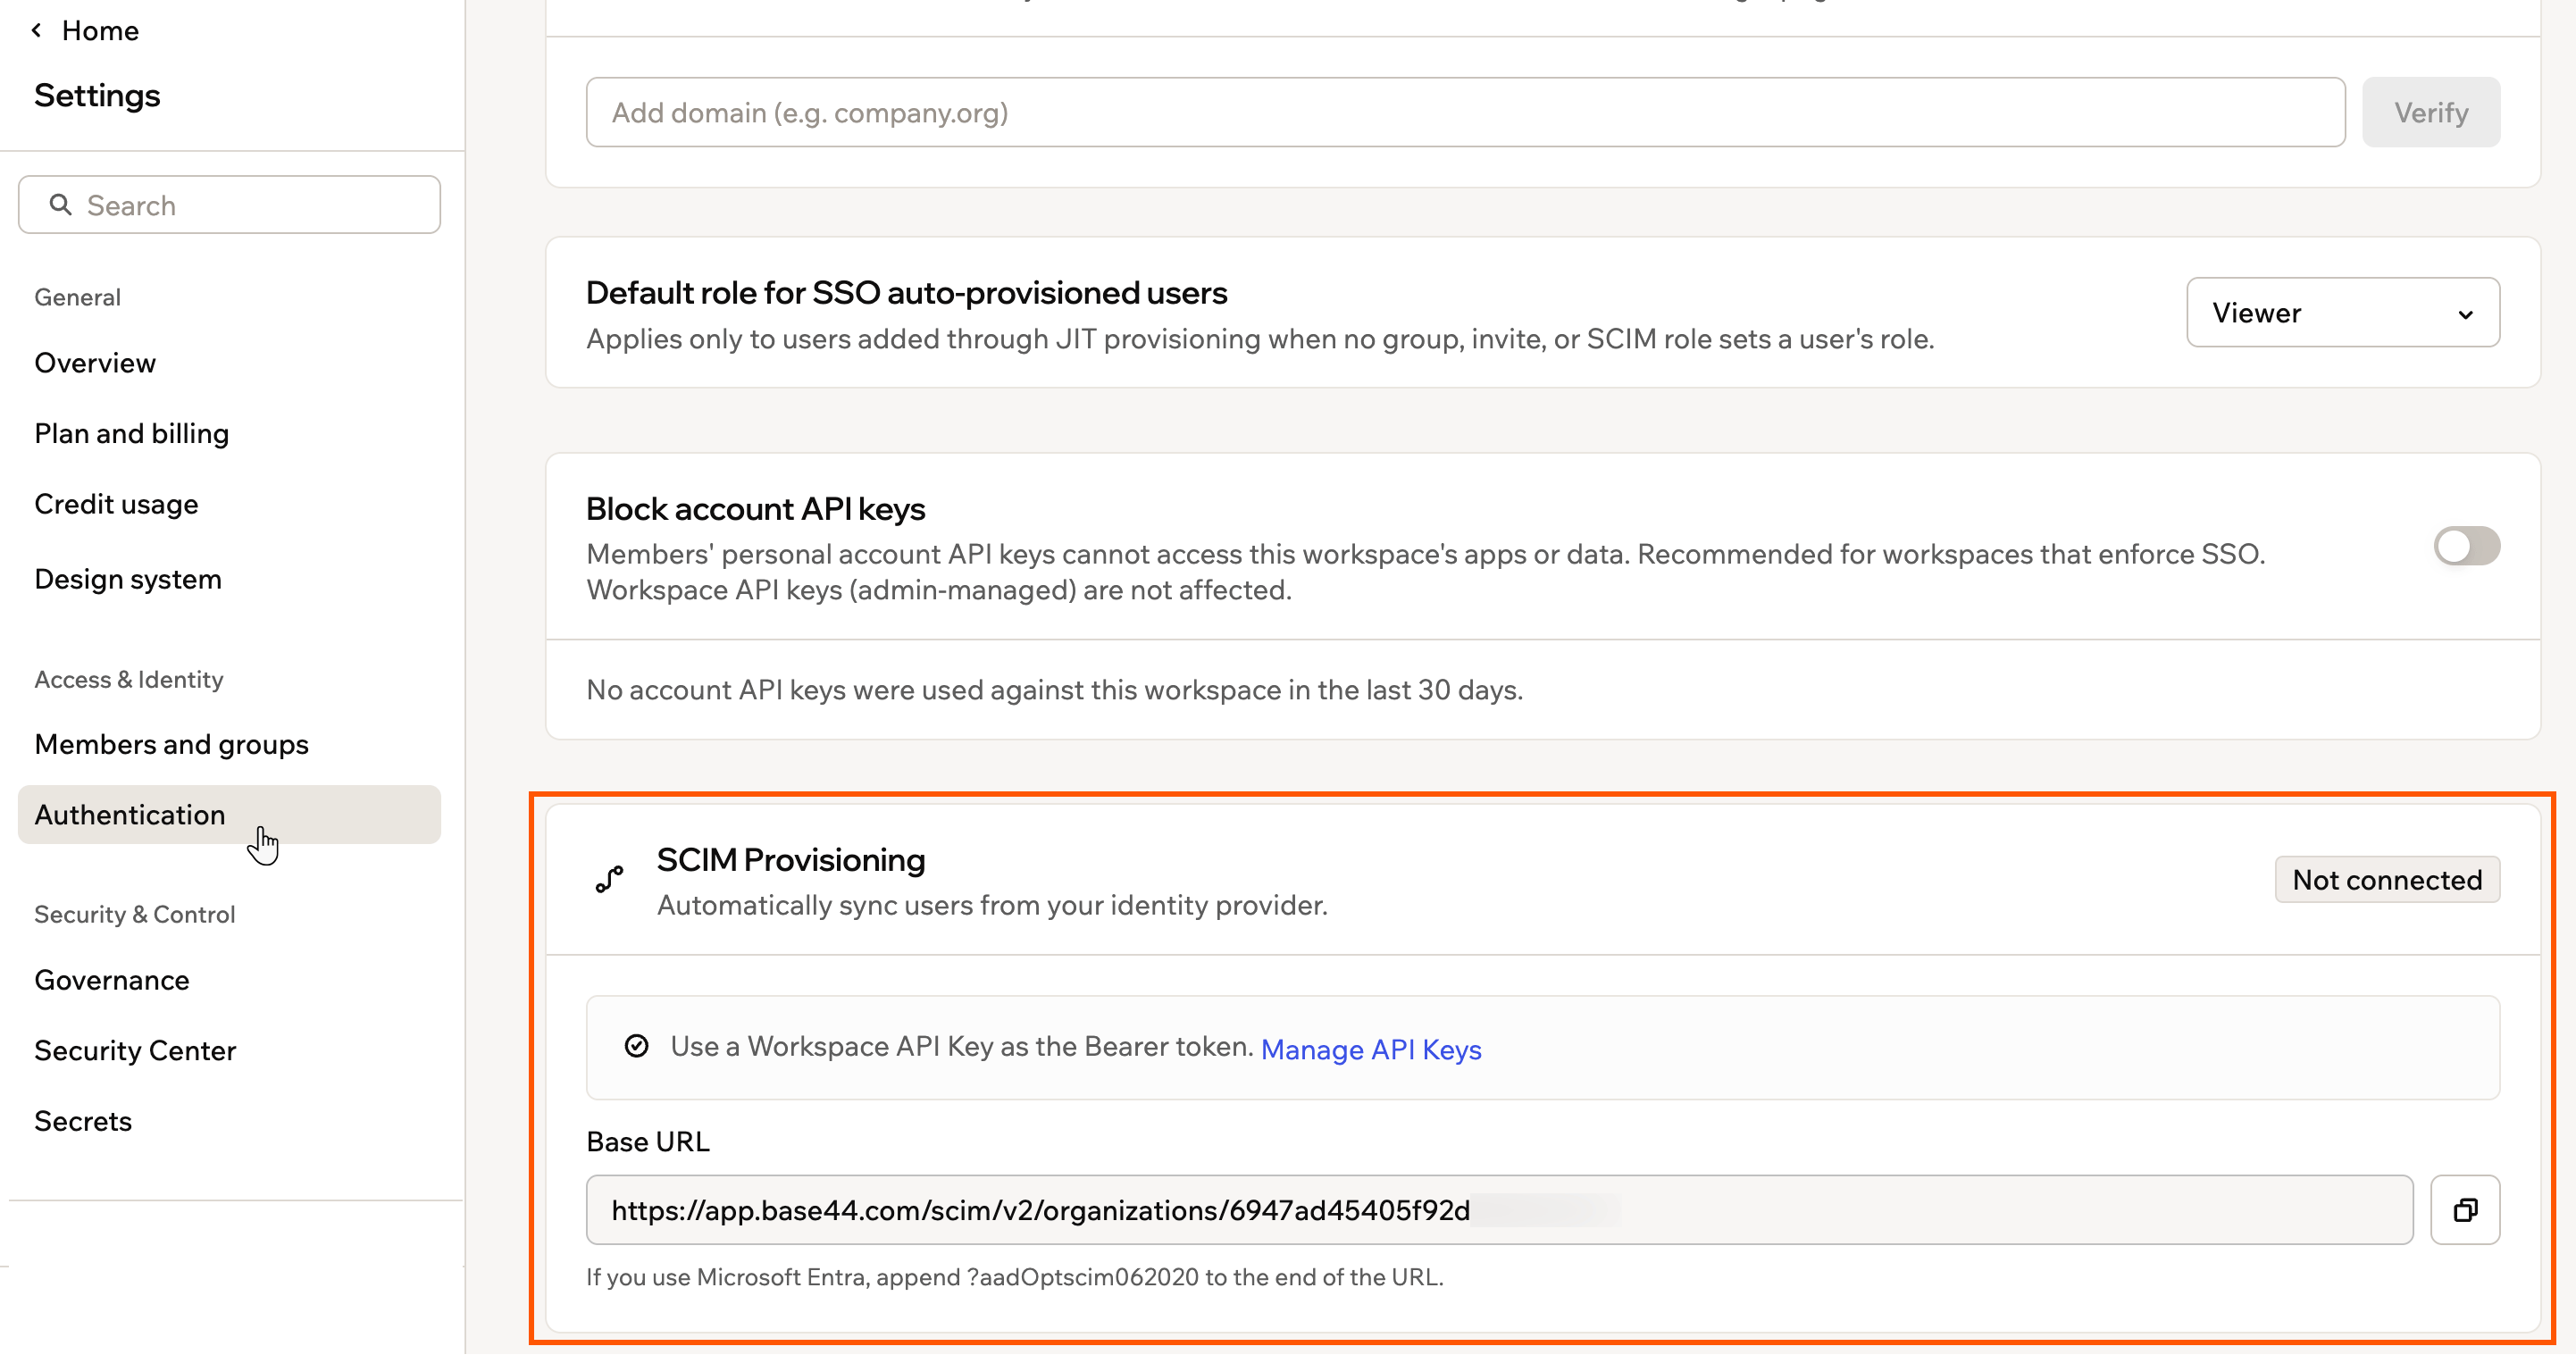
SCIM Provisioning settings in Base44
Custom IdP
Okta and Microsoft Entra ID have their own guides, linked above. Any other SCIM 2.0-compatible identity provider can connect to Base44 using the following settings.Connection settings
Use the following values when configuring SCIM in your IdP.
Your Workspace API key goes directly in the
Authorization header. Both Authorization: YOUR_API_KEY and Authorization: Bearer YOUR_API_KEY are accepted.
Attribute mapping
Map the following attributes in your IdP:When sending extension attributes, include the Base44 extension schema URI in the
schemas array of your SCIM request:Managing your members
Once SCIM is set up, your IdP handles membership changes automatically. Here is what happens in Base44 for each action.Adding members
When you assign a user to your SCIM app, Base44 creates their workspace membership automatically. The user can sign in to Base44 using SSO once they are provisioned.Updating members
When you update a user’s attributes in your IdP (such as their role or credit limit), Base44 updates their workspace membership to match.Workspace owners cannot be updated or deactivated via SCIM. Owners must be promoted or demoted from the workspace settings directly.
Removing members
When you unassign a user from your SCIM app, Base44 removes them from the workspace. Their platform-wide Base44 account is not deleted, and they retain access to any other workspaces they belong to. If you need to re-add a previously removed member, re-assign them in your IdP. Base44 will create a new workspace membership.Roles
Base44 uses roles to control what each member can do. You assign a role when provisioning a user via SCIM, and you can update it at any time.owner, member, and guest roles cannot be assigned via SCIM. If your IdP has groups mapped to those roles, update the mapping to use admin, editor, or viewer instead.Per-member credit limits
You can optionally cap how many credits a single member can use per month. SetcreditLimit to a positive integer to apply a cap, or leave it empty for no limit.
Credit limits only apply to admin and editor roles. Viewers cannot consume credits, so setting a credit limit on a viewer returns an error. Setting creditLimit to 0 is treated as no cap.
You can also set credit limits directly from your workspace settings without going through SCIM. See Managing enterprise workspace members.
Troubleshooting
If provisioning is not working as expected, the steps below cover the most common errors and how to fix them.API credentials test failed
API credentials test failed
Check that your Workspace API key is correct. Verify the SCIM Base URL was copied from Settings → Authentication and has not been modified.
User is not being provisioned
User is not being provisioned
Check your IdP’s provisioning logs for specific errors. Confirm
role is set to admin, editor, or viewer.Workspace owner cannot be updated or deactivated
Workspace owner cannot be updated or deactivated
This is by design. Workspace owners must be promoted or demoted from the Base44 dashboard. SCIM cannot modify owner memberships.
Cannot set a credit limit for viewers error
Cannot set a credit limit for viewers error
creditLimit can only be set on admin or editor roles. Either change the role to editor or admin, or remove the creditLimit value.